Hardware
Build RuView on commodity ESP32 hardware
RuView runs on widely available ESP32 boards. Pick a node, flash the CSI firmware and you have a WiFi radar sensor.
Featured Hardware
Recommended WiFi CSI Nodes
Recommended2.4 GHz
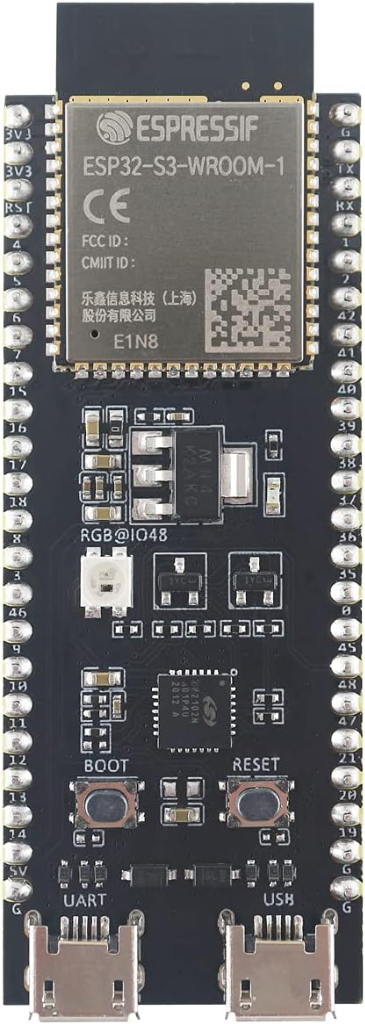
ESP32-S3-DevKitC-1
32MB Flash & 16MB PSRAM for maximum subcarrier buffering and edge AI.
32MB Flash
16MB PSRAM
Dual USB-C
64 Subcarrier
5 GHz Dual2.4 / 5 GHz
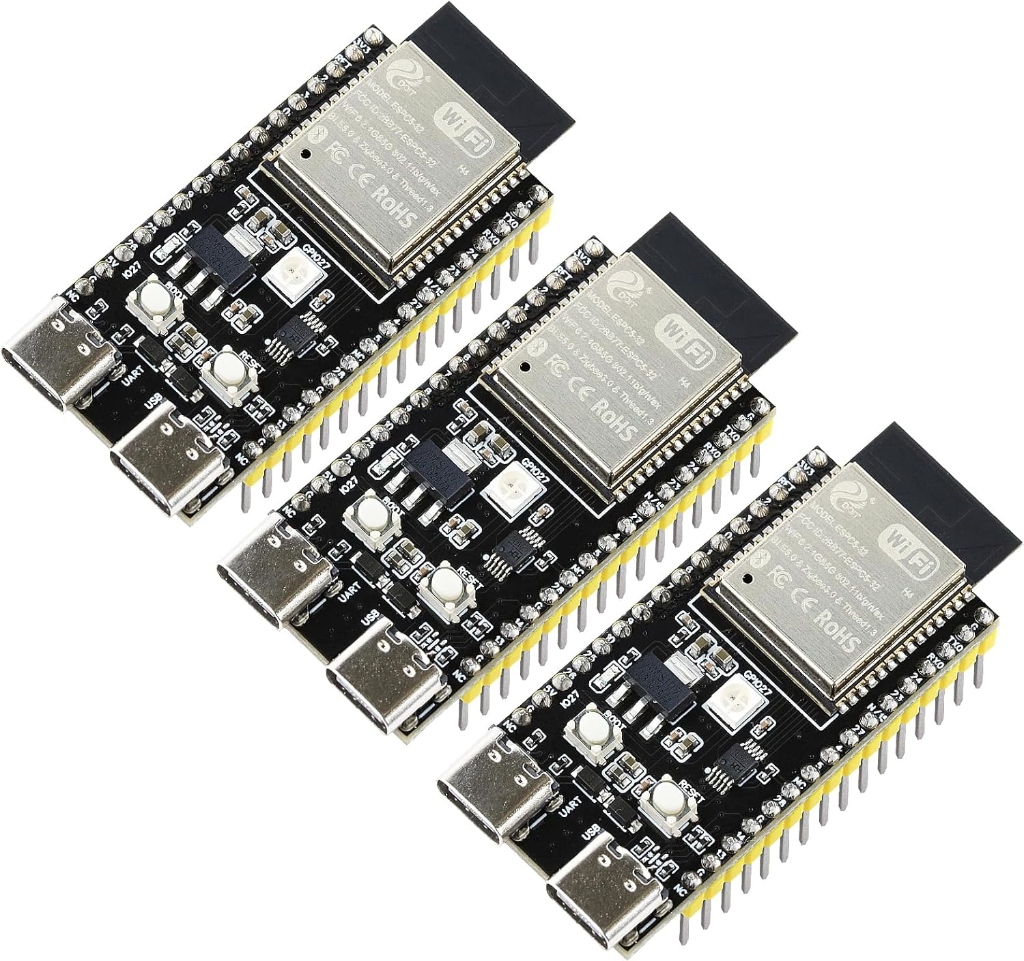
ESP32-C5 Dual-Band
2.4 GHz & 5 GHz WiFi 6 CSI node providing low interference sensing.
2.4 / 5 GHz
WiFi 6 (ax)
Dual Type-C
Low Noise
Budget2.4 GHz
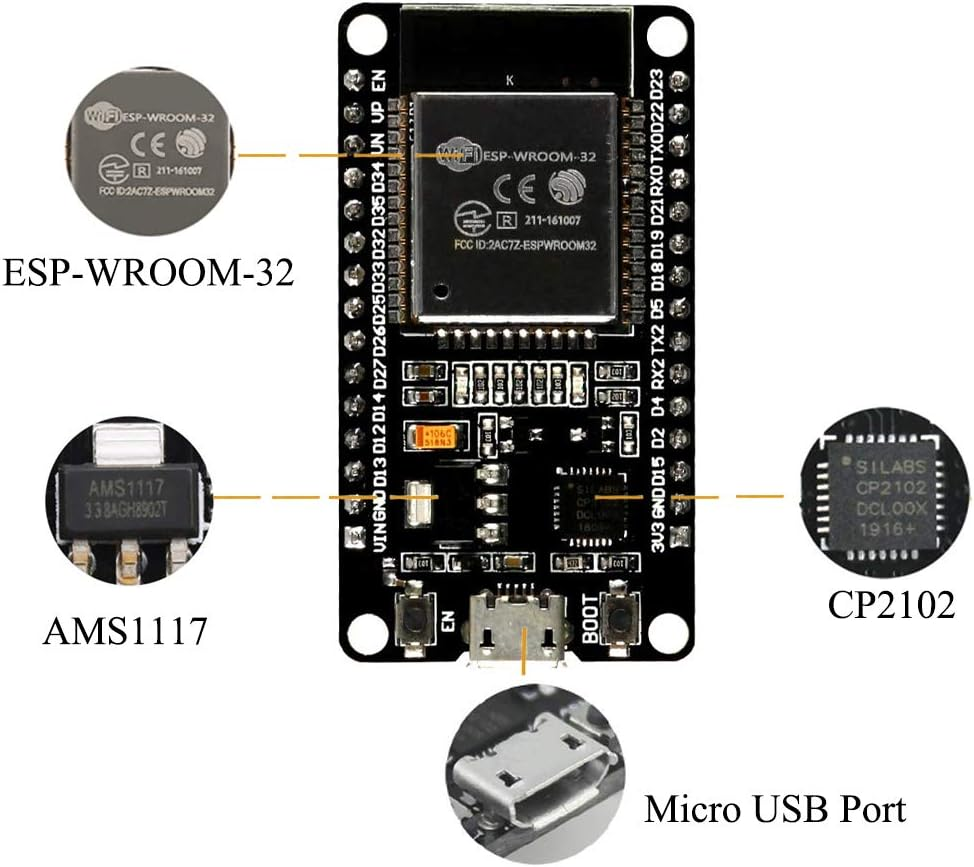
ESP32 (WROOM-32)
Affordable entry board for hobby experiments & basic room sensing.
WROOM-32
2.4 GHz WiFi
CP2102 UART
Micro USB
RISC-V2.4 GHz
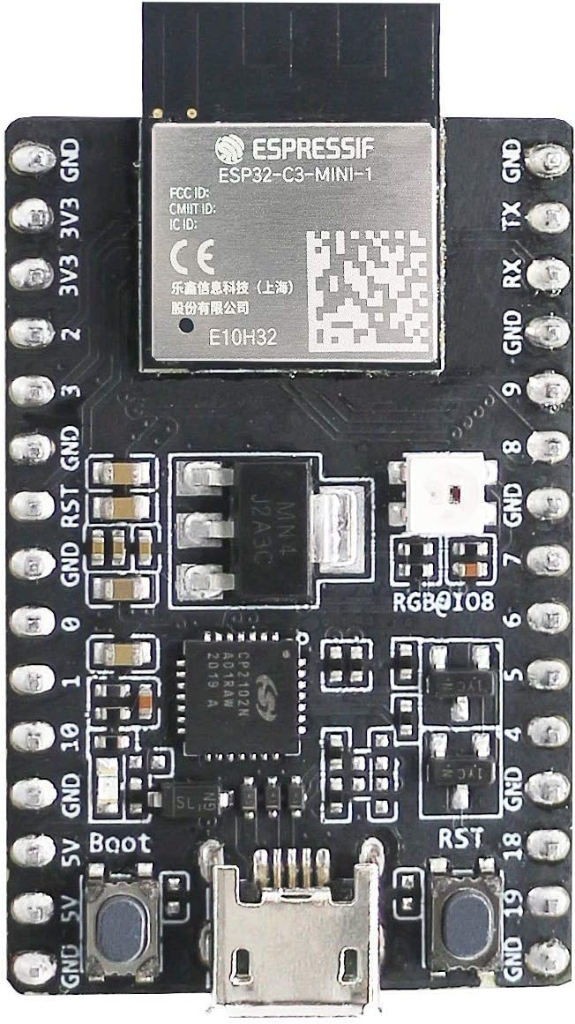
ESP32-C3 (MINI-1)
Compact single-core RISC-V board for compact edge-of-spec nodes.
RISC-V Core
Bluetooth 5 LE
CP2102N UART
Micro USB
WiFi CSI hardware
What makes a good CSI sensor
Clean CSI extraction
Firmware must expose per-packet subcarrier data without dropping frames.
Stable RF front-end
Low-noise oscillators and decent antennas drastically improve vitals accuracy.
USB & UART throughput
CSI streams can exceed several hundred kB/s — fast UART helps.
Recommended setup
The reference RuView deployment
Starter (single room)
- 1× ESP32-S3-DevKitC-1-N32R16V sensing node
- 1× ESP32 transmitter (or any WiFi router)
- Raspberry Pi 4 / Mini PC running the RuView Rust engine
5 GHz Dual-Band Mesh
- 3–6× ESP32-C5 dual-band nodes for multi-room 5GHz CSI coverage
- Dual-band WiFi 6 AP as transmitter
- Mini PC or NAS running RuView with multi-node fusion
Hardware architecture
System diagram
  [ WiFi AP / TX (2.4 / 5 GHz) ]
        │ packets
        ▼
  [ ESP32-S3 / C5 / Classic / C3 Node #1 ] ─┐
  [ ESP32-S3 / C5 / Classic / C3 Node #2 ] ─┼──▶ [ RuView Rust Engine ] ──▶ [ Dashboard / Home Assistant ]
  [ ESP32-S3 / C5 / Classic / C3 Node #N ] ─┘            │
                                                         └──▶ [ MQTT / WebSocket events ]