ESP32 CSI Flashing: Complete Toolchain & Firmware Guide
A comprehensive deep-dive tutorial on flashing microcontrollers for raw Channel State Information (CSI) extraction, using ESP-IDF, custom menuconfig settings, and active subcarrier optimization.
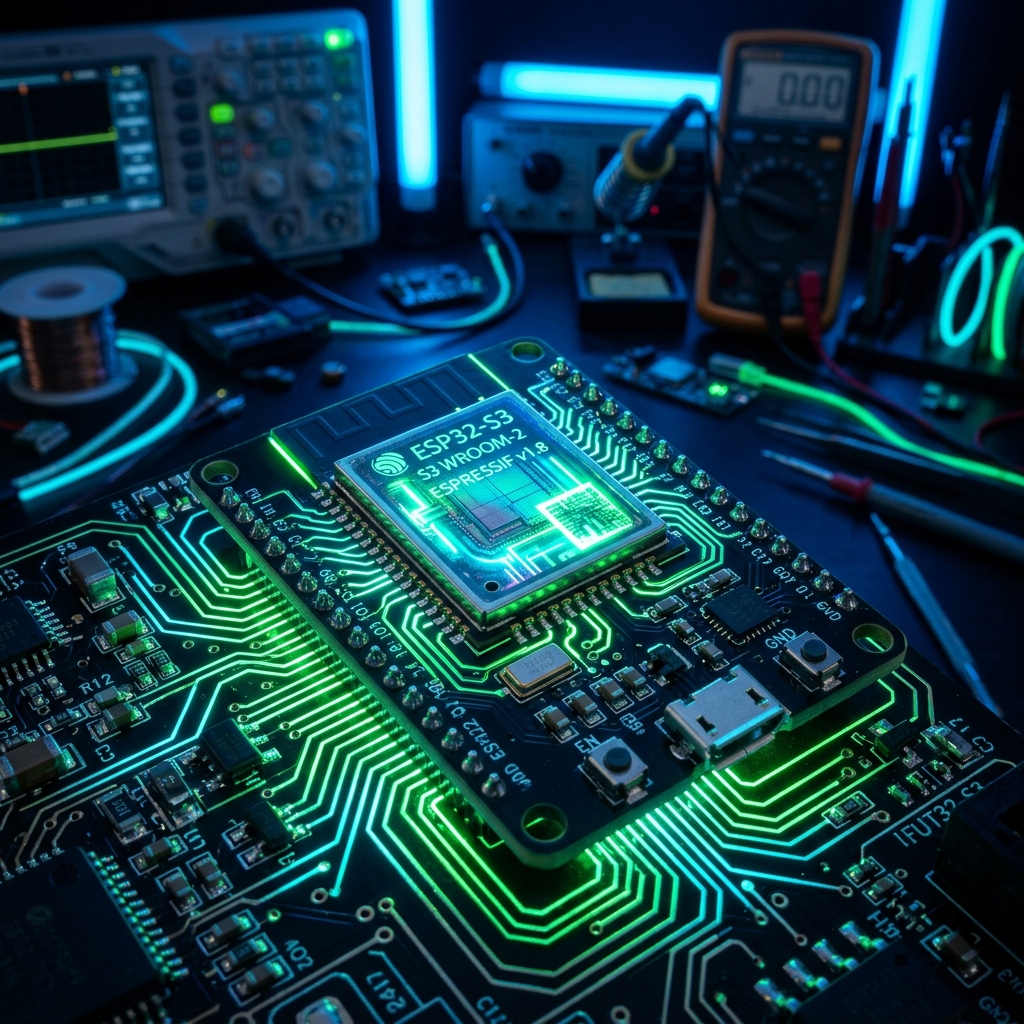
Introduction to ESP32 Channel State Information (CSI)

Channel State Information (CSI) is a physical-layer characteristic that represents the amplitude and phase shifts of radio signals traveling through a space. Unlike standard Received Signal Strength Indication (RSSI), which simply measures the average total power of a received signal in a single number, CSI provides a detailed multidimensional map of how individual subcarriers in an Orthogonal Frequency Division Multiplexing (OFDM) channel fluctuate.
By capturing raw CSI, we can observe how physical obstacles—including human bodies, pets, and micro-movements like breathing—alter the propagation path of Wi-Fi radio frequencies. To achieve this, the microcontroller must be flashed with specialized firmware capable of bypassing standard hardware filters and passing raw subcarrier packets directly to a processing stream.
In this masterclass, we will walk you through the complete setup of the Espressif IoT Development Framework (ESP-IDF) toolchain, firmware compilation, and active subcarrier optimization for extracting highly accurate CSI data using the ESP32 and ESP32-S3 chipsets.
Why ESP32-S3 is the Superior Choice for Wi-Fi Sensing
While the original ESP32 chipset is fully capable of capturing CSI, the **ESP32-S3 DevKitC** represents a major technological leap for real-time edge AI sensing applications. There are several key architectural reasons for this recommendation:
- Vector Extension Instructions (AI Acceleration): The ESP32-S3 features an Xtensa 32-bit LX7 dual-core processor with vector extensions. This allows the chip to run lightweight neural network preprocessing and digital signal filters (DSP) directly on the chip up to 10x faster than standard ESP32 boards.
- Improved Wi-Fi Stability: The S3 features an updated RF transceiver architecture that handles packet drops and subcarrier drift much more reliably, resulting in a significantly cleaner Signal-to-Noise Ratio (SNR) in high-interference environments.
- Octal SPI PSRAM Support: Flashing large buffers of high-frequency CSI packets (e.g. 100 packets/sec with 64 subcarriers each) requires high-speed memory. S3 DevKit boards with Octal PSRAM provide fast data pipelines to stream UDP packets without bottlenecking the main thread.
Step 1: Setting Up the ESP-IDF Toolchain (Stable v5.2+)

To compile raw CSI firmware, we recommend using Espressif's native **ESP-IDF v5.2** (or higher) development environment rather than the Arduino IDE. Arduino abstracts away low-level Wi-Fi physical layer handles that are critical for registering CSI packet callbacks.
For Windows Users (PowerShell):
We highly recommend downloading the ESP-IDF Windows Offline Installer. However, if you prefer the manual command line setup, run the following commands in PowerShell:
cd C:\esp
git clone --recursive -b v5.2 https://github.com/espressif/esp-idf.git
cd esp-idf
.\install.ps1 esp32s3
For macOS & Linux Users:
Open your terminal and ensure you have Python 3, Git, and CMake installed. Clone the stable repository and run the setup scripts:
cd ~/esp
git clone --recursive -b v5.2 https://github.com/espressif/esp-idf.git
cd esp-idf
./install.sh esp32s3
After installation, you must load the ESP-IDF environment variables into your current shell session. Run this command whenever you open a new terminal:
Step 2: Deep Dive into CSI Firmware Configuration
Once your toolchain is working, clone the RuView repository and navigate to the firmware source files. The firmware uses low-level Espressif API hooks `esp_wifi_set_csi()` and callbacks to capture subcarriers.
cd RuView/firmware
idf.py set-target esp32s3
Now, open the Espressif visual configuration menu using:
This opens an interactive terminal interface. Navigate to **RuView Configuration Settings** and configure the following parameters:
- Wi-Fi SSID & Password: Enter the credentials of your dedicated Wi-Fi sensing router. For optimal performance, use a router that is not congested with domestic network traffic.
- CSI Packet Filter Type: Set the filter to capture QoS Data & Null Data Frames. Standard beacon frames are too large and slow, whereas Null Data frames can be sent at high frequencies (up to 100Hz) to capture breathing signals.
- Wi-Fi Channel & Bandwidth: Select channel 6 or 11, and configure the bandwidth to 20 MHz (or 40 MHz if your environment is extremely clear). 20 MHz contains 52 usable data subcarriers, which is the sweet spot for neural network processing.
- UDP Target Port & IP Address: Configure the IP address of your edge gateway PC (e.g. `192.168.1.150`) and specify port `8082`. This is where raw binary payloads will be streamed over UDP sockets.
Press S to save the configuration settings and Q to exit the menuconfig tool.
Step 3: Compiling, Flashing, and Monitoring

Connect your ESP32-S3 DevKitC board to your computer using a high-quality USB-C cable. Make sure the cable is plugged into the **UART USB port** of the board to capture console debugging details. Run the compile and flash commands:
The build system will compile the project files, link libraries, and flash the compiled binary onto the chip. Once flashed, the monitor program starts automatically, displaying real-time boot logs.
You should see output similar to the following:
[I] (1420) RuView_WiFi: Connected! IP Address assigned: 192.168.1.55
[I] (1530) RuView_CSI: Registered CSI callback handler.
[I] (1640) RuView_UDP: Socket bound. Streaming CSI binary buffers to 192.168.1.150:8082
If you see this log, your node is fully configured and is successfully extracting and streaming raw Channel State Information!
Step 4: Advanced Tuning & Troubleshooting Packet Loss
In high-density environments (like apartments), raw Wi-Fi channels are filled with interference from neighboring routers, which can result in UDP packet loss. If your edge gateway is dropping frames, use these optimization guidelines:
- Switch to a Silent Wi-Fi Channel: Use a Wi-Fi analyzer mobile app to identify the least congested channel in your room. Reconfigure the ESP32 and target router to that specific channel.
- Adjust Transmission (TX) Power: In the ESP-IDF menuconfig, you can increase or decrease the Wi-Fi TX power. If nodes are positioned in the same room, lower the TX power (e.g. to 8 dBm) to prevent antenna saturation. If measuring through walls, increase it to 20 dBm.
- Physical Antenna Placement: Antennas must be vertically aligned. Use circular-polarized or directional patch antennas rather than standard omnidirectional PCB trace antennas if you are trying to project signals through thick concrete walls.
Now that your hardware sensor node is successfully streaming raw data, you can proceed to capture datasets and train custom neural networks. Read our deep-dive tutorial on RuView AI Model Training & Data Collection to start building occupancy detection models.
FAQ
Can I use standard ESP32 DevKit V1 boards instead of S3?
Yes. Standard ESP32 DevKit V1 is fully supported by the RuView firmware. However, S3 has vector execution extensions that process signals much faster.
Why do I see empty CSI array packets?
Empty packets occur if the ESP32 is not receiving frame transmissions from the TX node. Ensure the TX (transmitter) node is active on the exact same Wi-Fi channel and SSID.
How do I fix serial port permission denied errors on Linux?
Ensure your user account belongs to the dialout group by running: sudo usermod -aG dialout $USER, then reboot your system.
Explore RuView on GitHub
Browse the Rust engine, ESP32 firmware and examples.